I recently visited Prestatyn in North Wales to make some long exposure photography and explore another great section of Welsh coastline. My aim to make a collection of long exposure seascape photographs. Having been to Prestatyn several times in recent years, I’ve never really visited with the prime intention of practicing landscape photography. My favourite location to photograph on the Welsh coastline is a little bit further around the coast. In fact it’s around 5 miles away, at a small village called Talacre. Talacre is famous amongst photographers as it is home to the Point of Ayr Lighthouse. I have photographed the lighthouse on several occasions and I have previously blogged about my adventures with my blog posts Talacre Lighthouse and Point of Ayr Lighthouse on Talacre Beach. Once you have finished reading this post feel free to skip back and catch up on my previous adventures.
Just so you know, this page contains affiliate links and as an Amazon Associate I may earn a commission from qualifying purchases at no extra cost to you.
Welcome to Prestatyn
There’s a large car park adjacent to the seafront which makes accessing Prestatyn beach very easy. There is also a footpath that runs parallel to the beach meaning you will not get your feet wet or need to encounter any additional stress on your legs from trying to walk on the soft or sinking sand (Unless you want to of course).
Sea Defences
Prestatyn town is protected from coastal flooding by a series of sea defences including several rocky groynes. The existing defences in the central beach area are are around 70 years old and quickly becoming outdated. At some point in the future they will need to be upgraded or replaced.
Planned vs Reactive Photography
In my experience there are two types of photography. Planned photography and reactive photography. I do practice both, however it would be fair to say most of my photographic adventures are the turn up and shoot type. My planned adventures are mostly driven by a specific vision and that’s exactly how this adventure became.
What I look At When Planning A Shot
There are several considerations to make when planning a shot. Having a vision of your creation will help identify several points to research. For example knowing I wanted to photograph groynes surrounded by water meant I needed to know when the tide would be high enough. I did touch on this subject previously in this post from when I visited Talacre to photograph the Point of Ayr lighthouse. I wanted the lighthouse to be surrounded by water. Unfortunately my first attempt was a disaster as the tide was out when I visited!
Every photographer has their own list of things they like to research. I’ve listed a few of mine below.
Points worth considering include;
- Equipment reqired
- Tide Times
- Suitable location
- Parking
- Filters needed
- Wind speed
- Sunrise/Sunset Times
- How busy the location will be
- Tripod/handheld
- Weather
- Travel Time
- Clothing/footwear choice
This list is non exhaustive and I am sure you will have many other points in your mind worth considering.
Finding The Best Groyne to Photograph
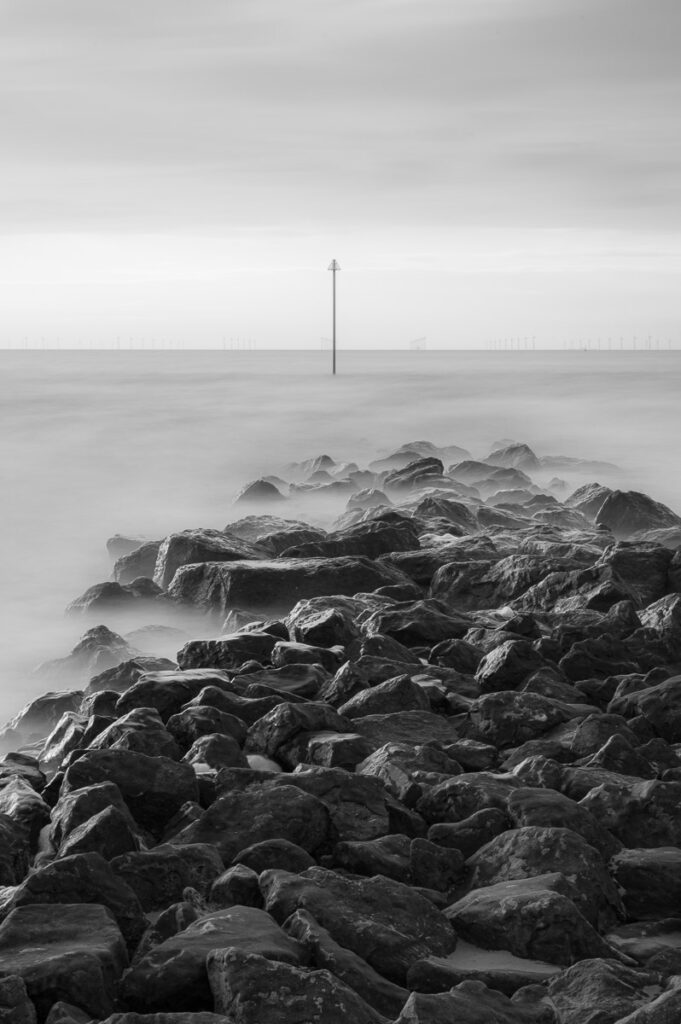
There are several groynes along the coastline of Prestatyn. At first glance they do all look pretty much the same. As you look closer and start to study them in more details you will notice subtle differences. It is also worth considering what will also be appearing in the background of your photograph. The distant horizon is littered with wind turbines which some of you may consider to be a bit of an eyesore.
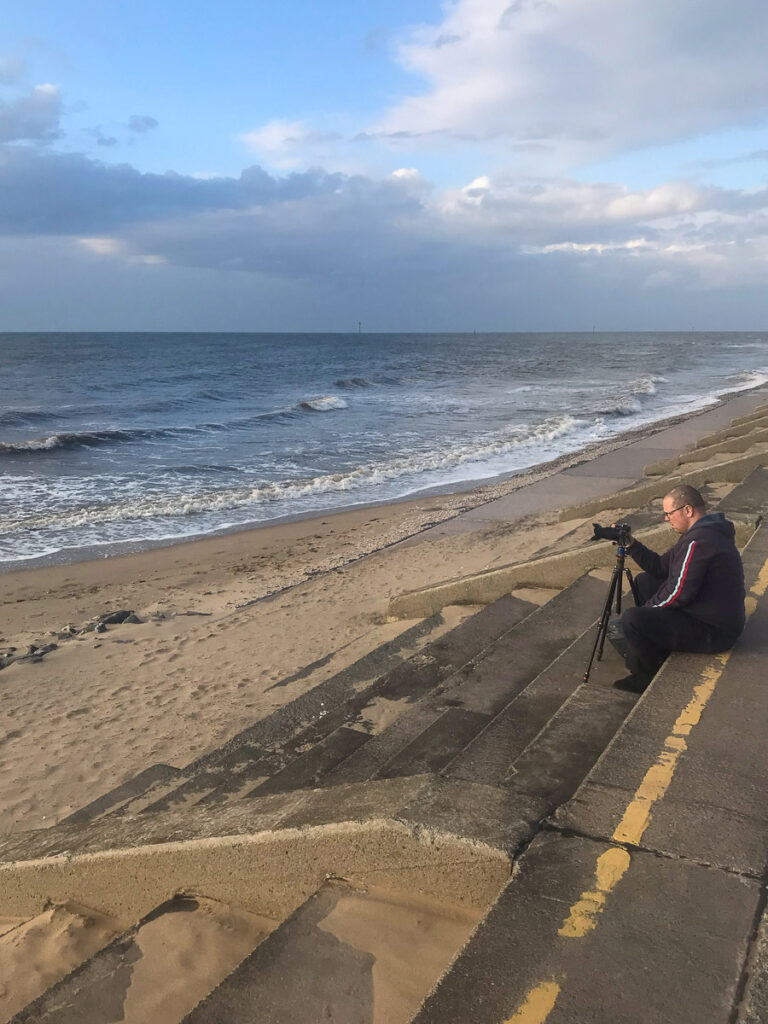
I decided to set up my tripod at the top of the steps. This allowed me to have a slightly elevated position looking down on the groyne. As we have an incoming tide, the end part of the groyne is underwater. This was perfect for my composition as it allowed me to have a body of open water between the groyne and the marker post. I did think about including more of the beach in my composition however as I am making photographs so late in the day the beach is absolutely peppered with footprints. (See above photo)
Nikon Z6 10.0 Sec f/16, ISO 100 (Nikkor Z 24-70mm f/4 S)
Long Exposure Photography
Long exposure photography is a technique that takes advantage of slower shutter speeds. A long exposure is said to be where the camera shutter remains open anywhere between half a second up to several minutes. A slow shutter speed can create a unique looking image, often resulting in streaky skies and cotton candy like water.
Neutral Density Filters
Neutral density filters are essential to make a long exposure image during brighter daylight. Without one you simply will not be able to achieve a slow shutter speed without over exposing a part of your image. Think of it as being similar to putting a pair of sunglasses on your lens. The strength of a neutral density filter is measured by the amount of light it restricts from hitting the camera sensor. The filter you will need to use will depend upon your desired shutter speed and how much of an effect you want to create. The slower you want the shutter speed the stronger the filer will need to be. I only have a 10 stop filter with me today which gave me a shutter speed for this set of images between 10 and 30 seconds.
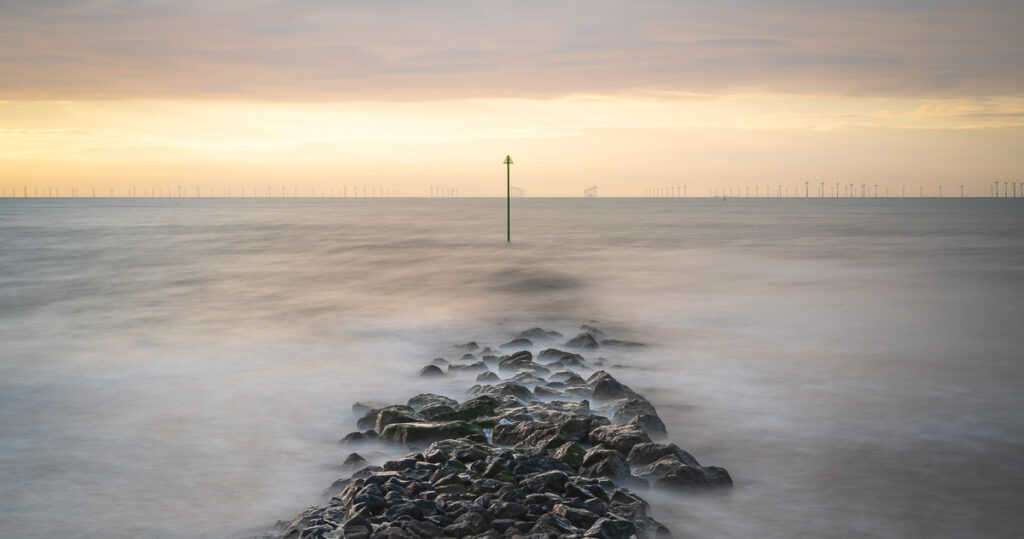
Storytelling Compositions
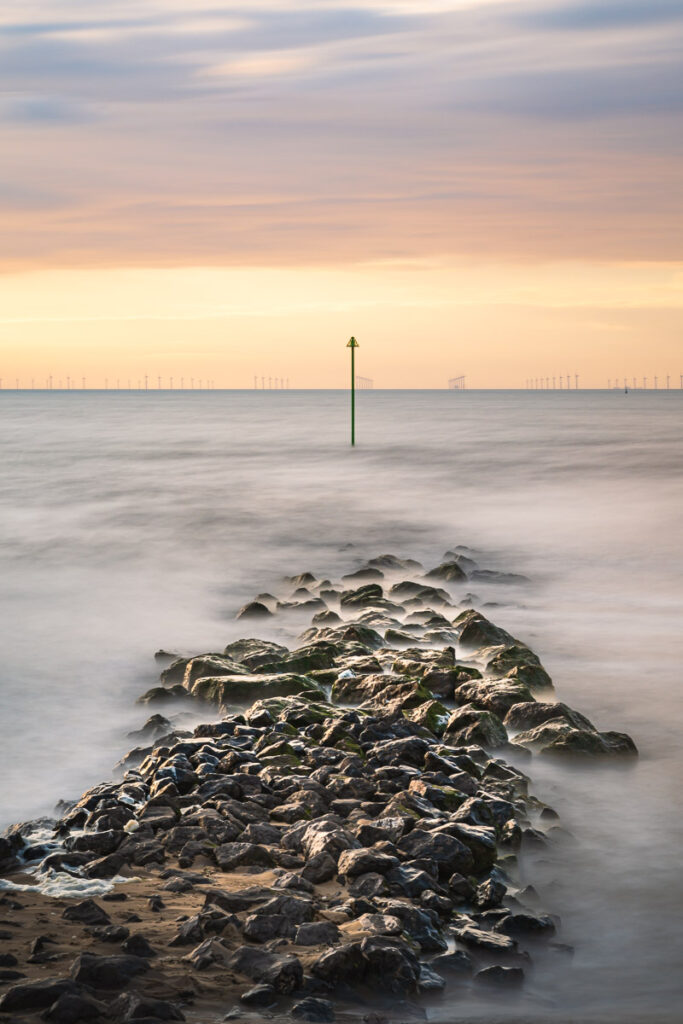
A good storytelling photograph has several similarities to a book. A good book is said to contain an opening, middle and end. Similarly a storytelling image has a foreground, mid ground and background. With the above image I have moved my tripod onto the rocky area of the groyne. This has allowed me to use the full width of the image to capture the detail of the rocky groyne in the foreground. The marker post makes up my mid ground along with the wispy ocean and the feint outline of the wind turbines on the horizon makes for a slightly interesting background. This leaves the rest to your imagination.
Changing Light
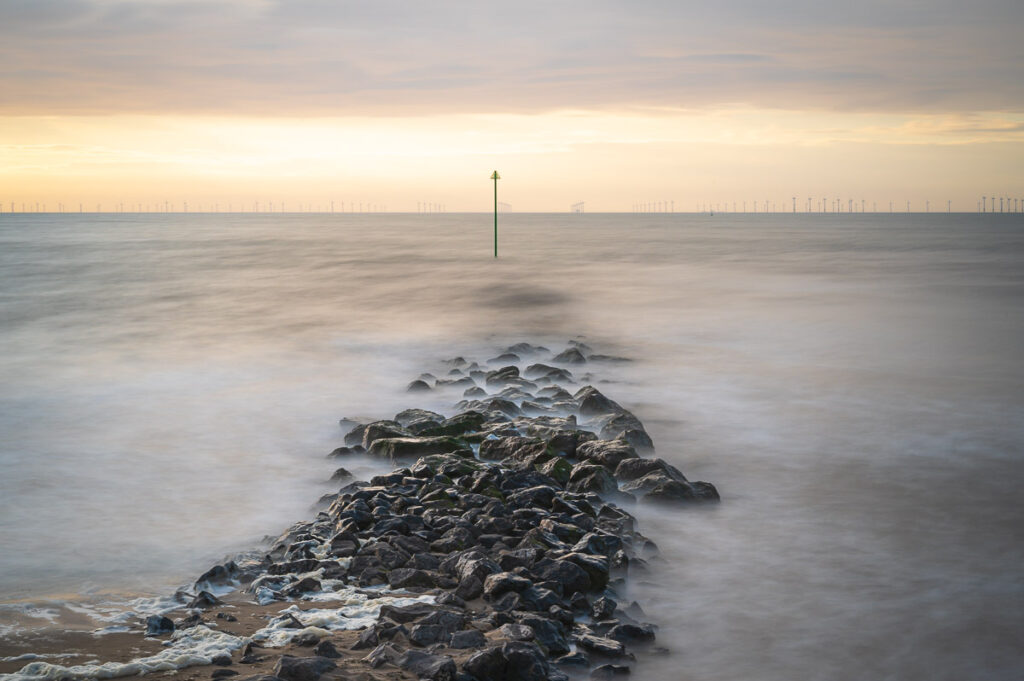
As my evening progresses the quality of light is constantly changing. A band of clear sky has started to appear on the horizon. I don’t expect the cloud to lift quickly enough for an amazing sunset however there is a small amount of colour starting to develop.
I like the effect that my 30 second exposure has created in the top third of the above image. I also like the wispy water with darker shadows. There is however what appears to be a small buoy near the horizon. At first glance I thought this may have been a dust spot in the image. I do find the buoy quite distracting and definitely did not notice it on location whilst composing the image. I have left it in the image as I think it is important to show you how a small dot can be distracting. In honesty I would usually clone out such distractions during post processing.
Don’t Get Stranded
The tide is deceiving and increases in height quicker than you may expect. There also appears to be that one wave every few that comes crashing into the rocks. I am sure its primary mission is to wet my feet but it can also be considered a warning to move back onto the beach. The safety of the dry land is only a few steps behind me however I do know in some locations I have visited It’s possible to get stranded as the sea can surround you very quickly.
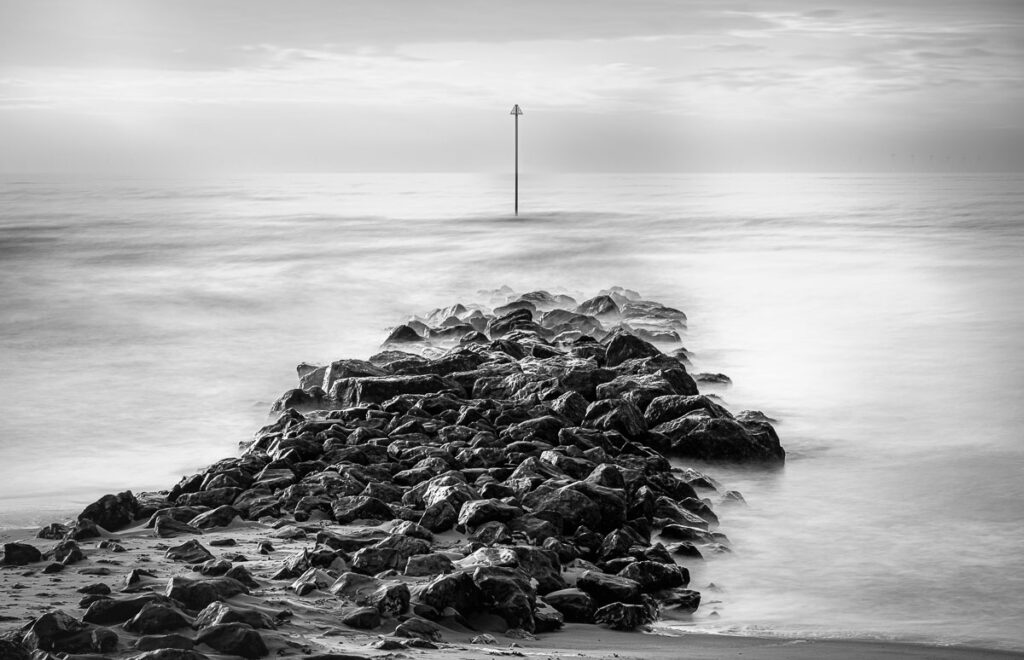
One Last Shot
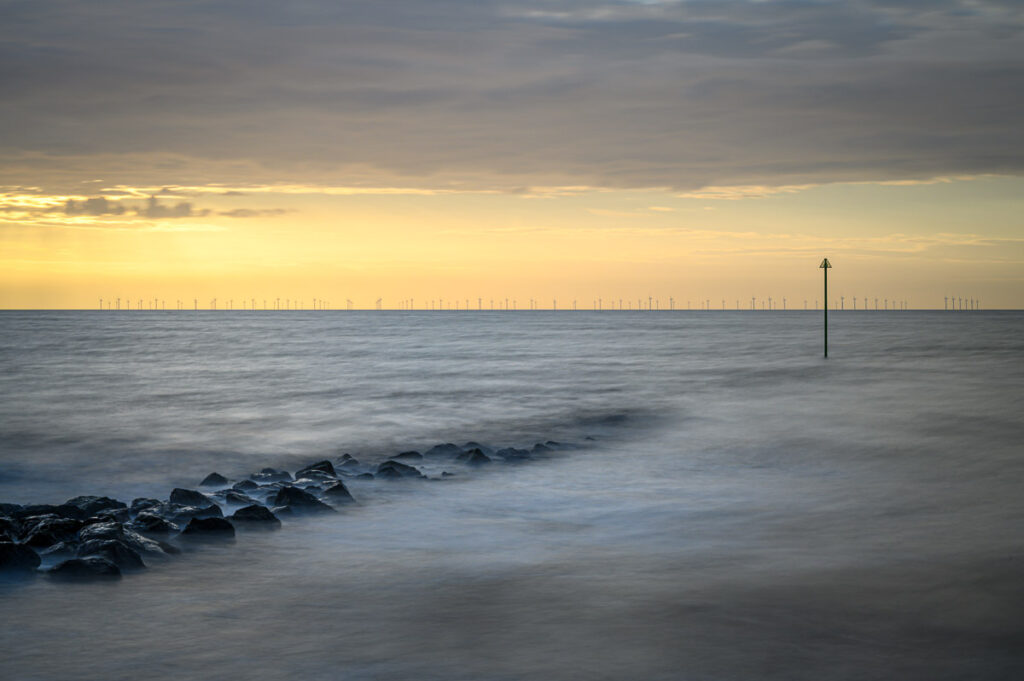
In my final long exposure I have used an exposure time of 10 seconds. This has allowed me to capture a considerable amount of texture in the water whilst maintaining the smoothing of the water.
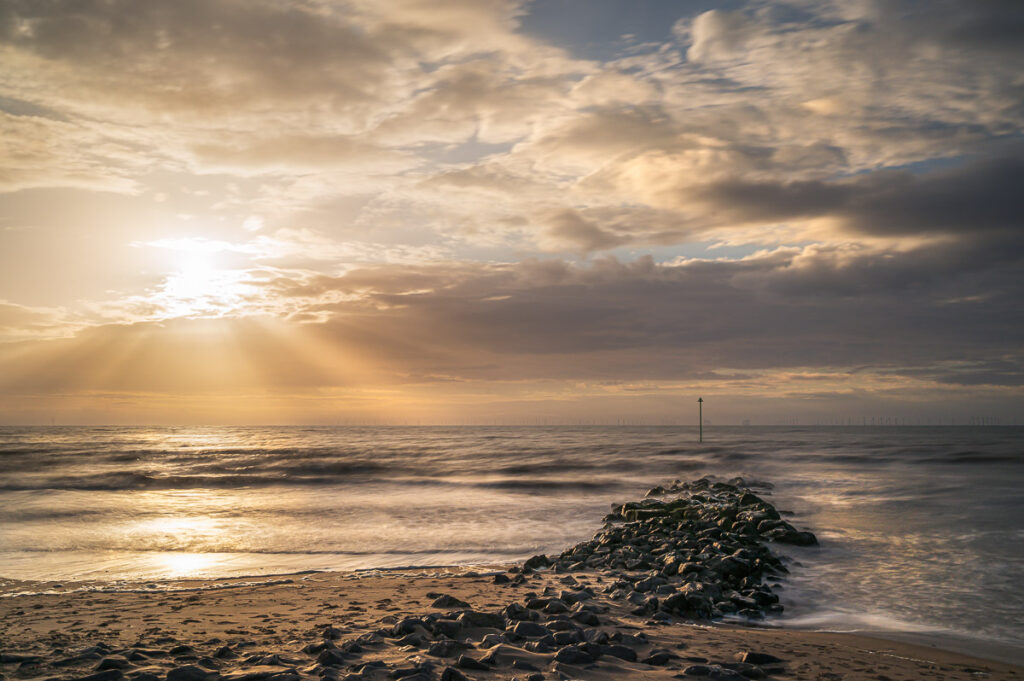
Why This Shot Works
I do like how the groyne is leading the eye from the lower left corner of the image onto my subject of the marker post. The brightness of the setting sun helps to draw your eye as you make your way through the image. In contrast the darkness of the bank of cloud helps to push your eye downwards from the top of the frame.
Bonus Image
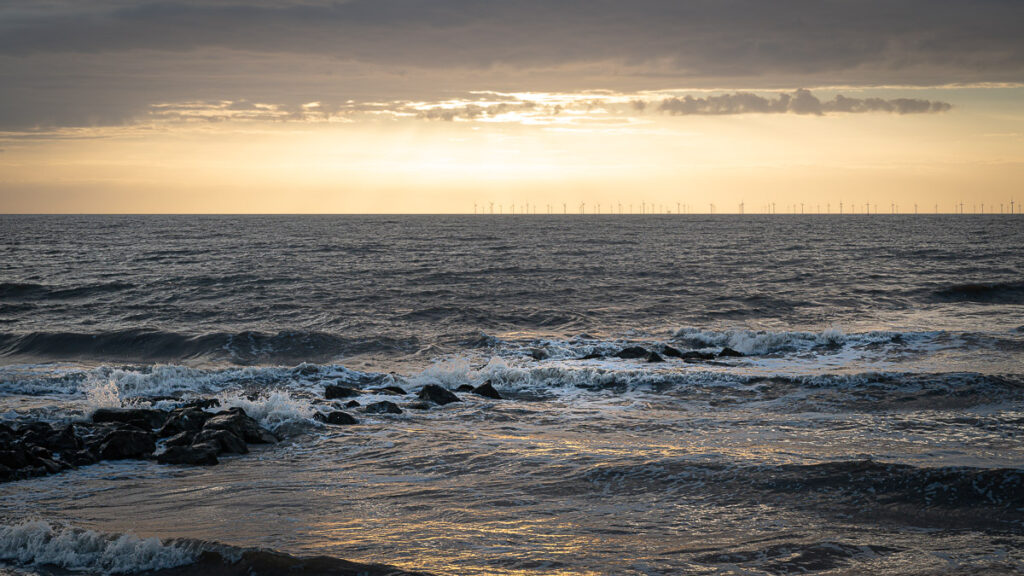
Whilst this adventure is to make a series of long exposure images I did capture an image with a faster shutter speed. The below photograph is from my walk back to the car. I was drawn to capture this image as I quite like the golden glow on the ocean. I also wanted to have a record of my adventure that shows a natural look and displays the conditions of the day.
The Gear I used to Make these Images
Camera: Nikon Z6
Lens: Nikon 24-70 F4/s
Tripod: 3 Legged Thing Travis
Filter: 10 Stop Neutral Density ND1000
Thanks again for reading and I hope to see you back again soon to share my next photography adventure.
Let’s Connect
Sign Up For My Newsletter
Be the first to hear about my latest adventures, new blog posts and photography projects.
If you change your mind you can unsubscribe at any time.