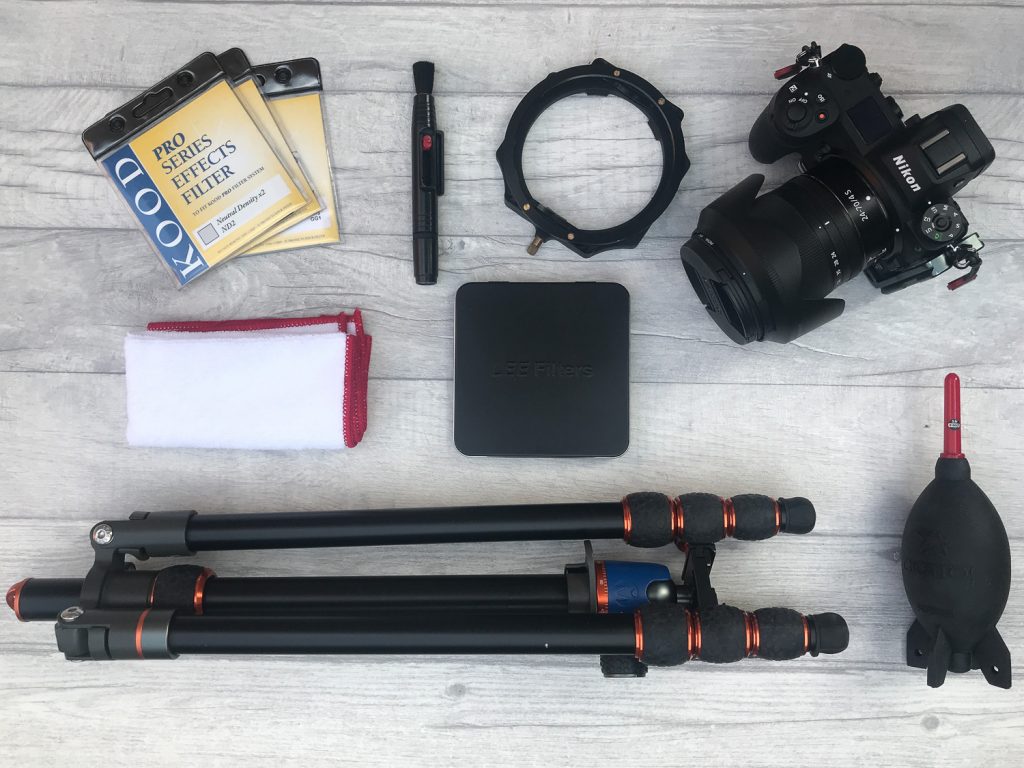
As photographers we are continually investing in our camera kit. We often spend hundreds of pounds each year buying various photography accessories. Apart from the camera and lens every landscape photographer should consider adding my recommended best 5 accessories for landscape photography to their kit.
Photography in general can be very expensive. The latest camera bodies coupled with good quality lenses are not cheap. Then add on the additional costs of bags, filters, tripods, shutter releases, spare batteries, memory cards etc. and we are soon spending 1000’s of pounds.
There are hundreds of photography accessories to choose from, many of which we will purchase and rarely use. Then there are accessories that we really should have in our kit and will continue to use for many years.
Let’s start by taking look at my recommended best 5 accessories for landscape photography.
Just so you know, this page contains affiliate links and as an Amazon Associate I may earn a commission from qualifying purchases at no extra cost to you.
Landscape Photography Tripod
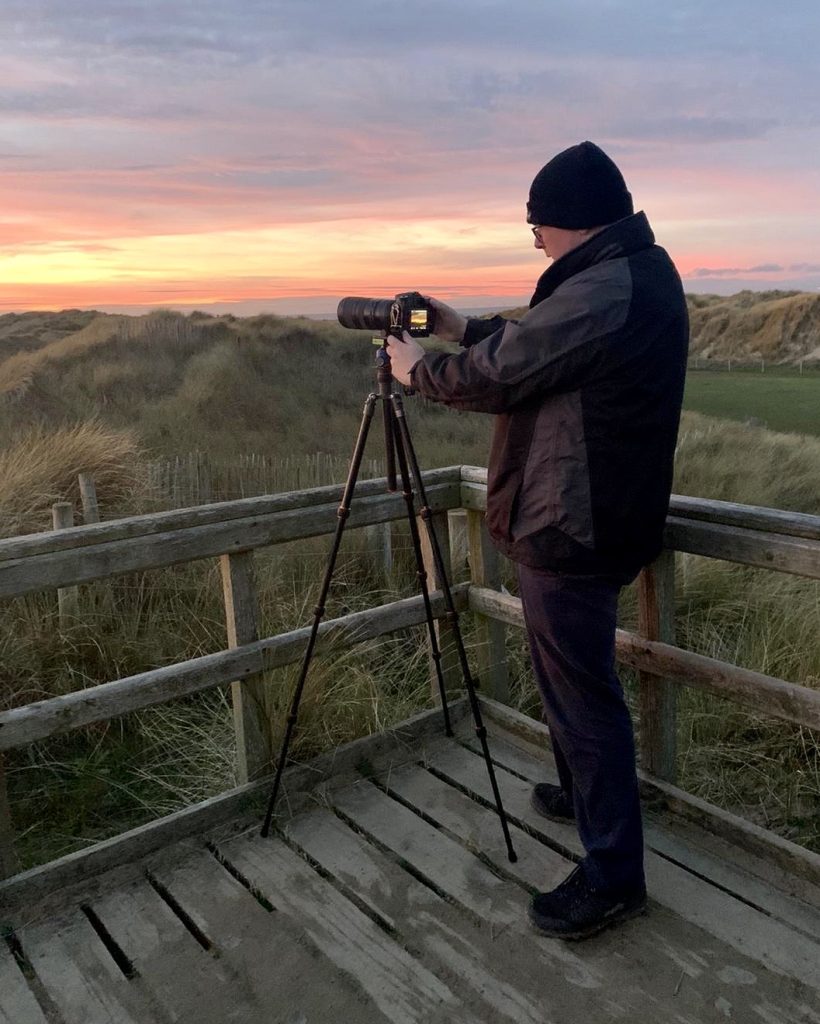
Almost every photographer regardless of if they are a landscape, nature, wedding, portrait or product photographer will buy at least one tripod in their lifetime. Rarely though will they stick with the first tripod they buy and more often than not will end up with multiple tripods in their collection.
A lot of beginner photographers will buy a tripod based on price alone. Unfortunately tripods are defiantly one of the accessories where you get what you pay for. By no means does this mean you have to go out and buy the most expensive tripod a shop sells! It’s not my job in this post to tell you which tripod to buy. Your needs may be slightly different to mine and your requirements may be different to mine. That said I will give you some points to consider, allowing you to make an informed decision of what to buy for yourself.
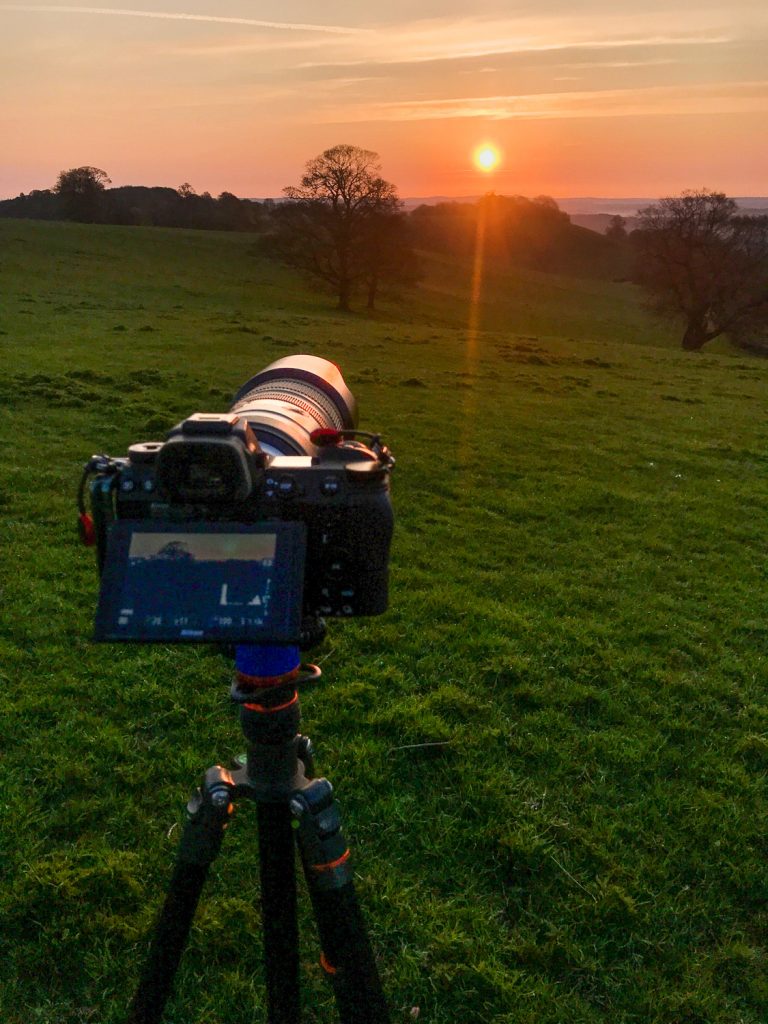
The most important thing to consider in a landscape photography tripod is stability, closely followed by its load capacity. The tripod should be very sturdy and able to handle the weight of your camera and heaviest lens. After all the last thing you want is for a gust of wind to blow over the tripod causing lots of damage!
Tripod Feature Considerations
- Consider the height of the tripod without extending the centre column.
- Plastic tripods whilst lighter also break easier.
- Carbon Fibre tripods are lighter than Aluminium tripods but come with a considerably higher price tag.
- Travel tripods often take less payload.
- Travel tripods usually have additional leg sections allowing them to fold smaller. Legs are often thinner and the extra joints can make the tripod less robust.
- Weight is important. You will be carrying the tripod often for long periods of time.
I have five tripods. Two of which are hand me downs and over 20 years old. Unfortunately the older tripods are unable to take the weight of a DSLR without the legs starting to collapse. One is more suited to video. It has a pan and tilt head which is not really required for landscape photography. My current main tripod is Travis by 3 Legged Thing. Travis is a great balance between functionality and price. He has now been my tripod of choice for the last few years. Finally my other tripods are a Gorilla Pod which has its uses and a table top tripod ideal for close uo and macro work. At the time of writing this post a quick search on amazon for “camera tripod” returns over 1,000 results. Thats a huge amount and I wish you good luck with your research.
I would be lost without my tripod and feel it really does help me to produce great images. In fact 9 of my best images from 2020 were captured using a tripod. I am sure you will agree on this basis a tripod is defiantly one of my best landscape photography accessories.
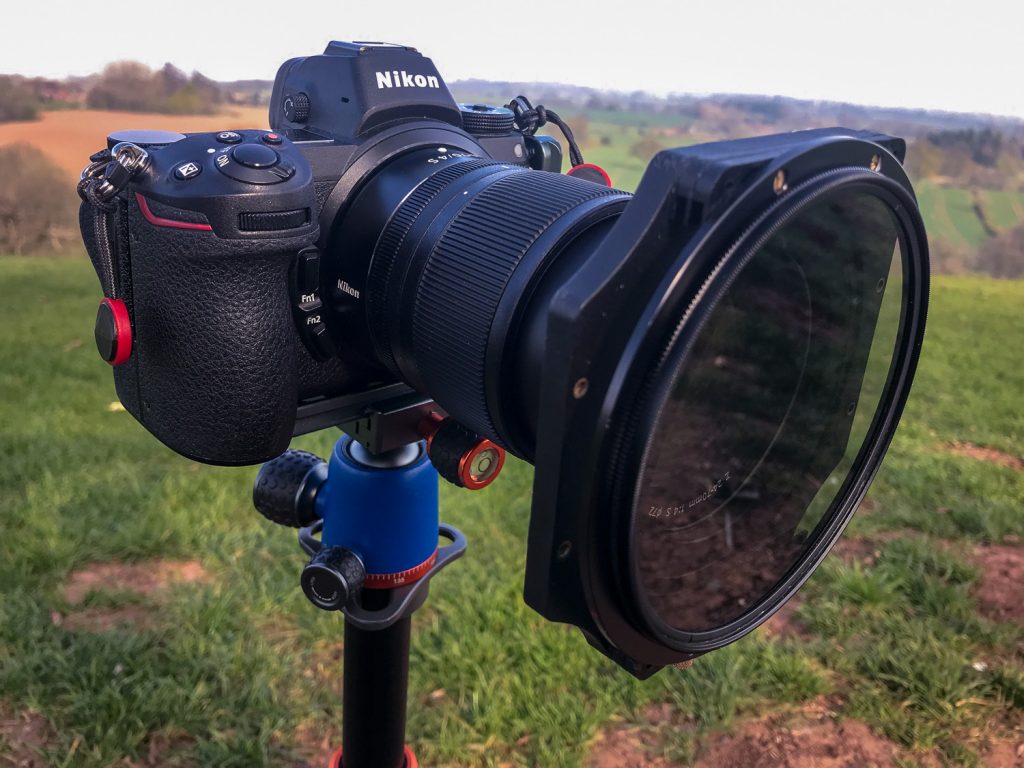
Polarising Filter
Polarising filters are one of the most popular filters used by a landscape photographer. The polarising filter sits in front of the lens and is frequently used to darken skies, manage reflections and suppress glare found on the surface of water. A circular polarising filter works best when angled 90 degrees to the sun and the resulting effect can be maximised or minimised by rotating the front element of the filter.
Does Size Really Matter?
Filter threads tend to be different sizes depending on the make and model of your lens. This can mean spending a small fortune to buy a filter for each of you different size lenses. To combat this I would suggest buying a polarising filter to suit your largest diameter lens. Accompany this with a step down ring and you will ensure compatibility with your other lenses. Alternatively you could buy into a filter system whereby the polarising filter attaches to the front of a dedicated filter holder. Check out these polarising filters on Amazon.
Polarising Filter Quality
There are loads of different brands of filter on the market, however It’s worth noting that many cheap filters can degrade image quality. Some filters also introduce an unwanted colour casts into the image. It is possible to recover a colour cast in post processing however this will require software and additional time for processing the image.
Neutral Density Filter
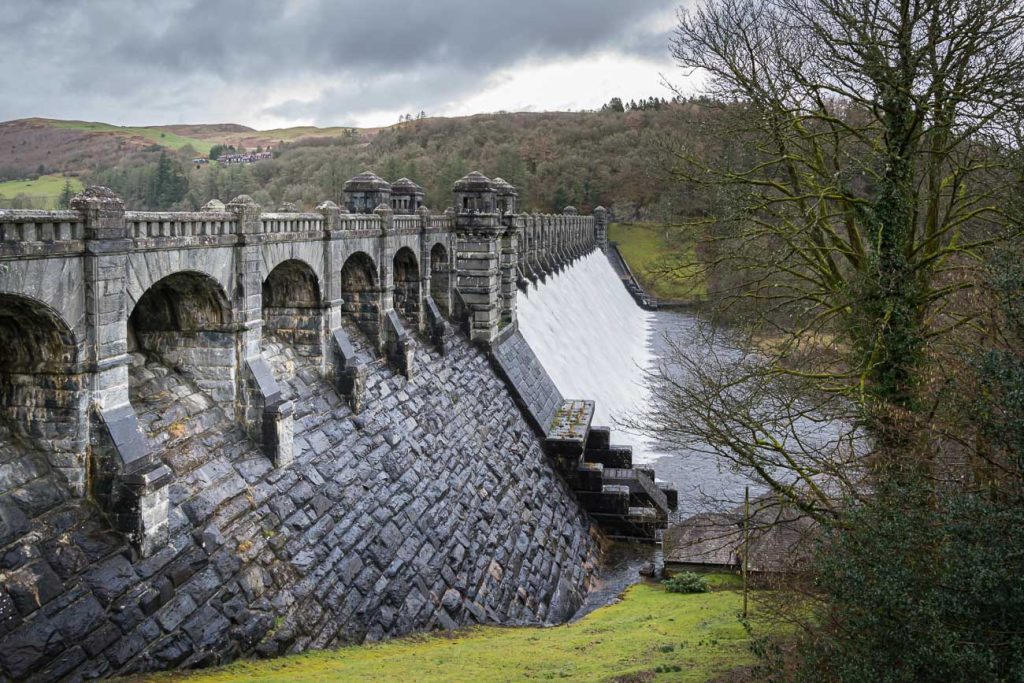
Neutral Density Filters also known as ND filters allow you to use a longer shutter speed than you normally could achieve. These filters are darkened glass which is placed in front of the lens in order to reduce the amount of light reaching the camera sensor. You’ve probably seen lots of images using this type of filter. Images are usually distinctively identifiable by the silky soft water and streaky clouds often created.
Note: As with polarising filters you will need to use the correct size filter for your lens. Please refer to the note above titled does size really matter.
ND Filter Strength
ND filters come in a range of different strengths. The strength of the filter is measured by the light reduction that it produces. The weakest of filters will reduce around one stop of light where as the strongest filters will reduce light by around 15 stops.
ND Filter Quality
Like the polarising filter there are many different brands of filter on the market. Although filters should be neutral, cheaper glass often present colour casts with distinctive blue and purple hues. It is possible to recover a colour cast in post processing however this will require post processing software and additional processing time.
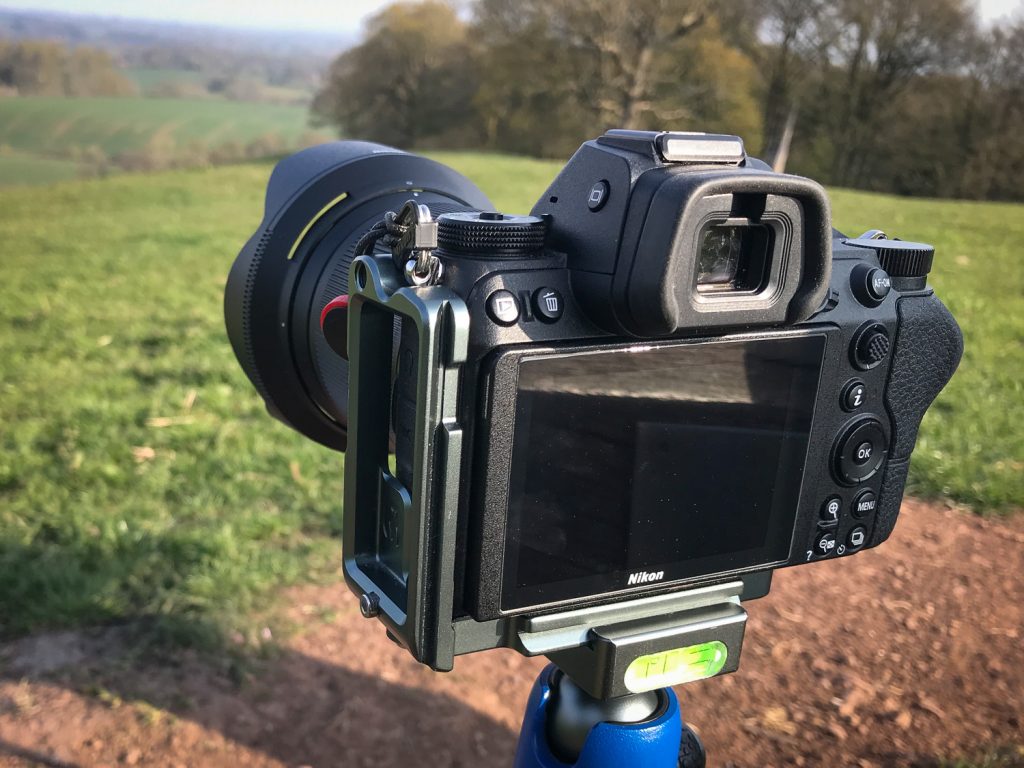
L Bracket
An L bracket is a piece of metal that wraps around the side of your camera and replaces the traditional quick release tripod plate. The primary benefit of an L bracket is to allow you to quickly and easily switch between horizontal and vertical orientations whilst maintaining the same composition. You may think it’s just as easy to loosen the ball head and drop the camera over to one side. There are actually disadvantages of this method including;
- The composition becomes lower so you may find yourself adjusting the tripod to correct the height required. You may also need to move the tripod a few inches to the side to get the same composition.
- The centre of gravity changes and rather than the camera sitting over the legs it sits slightly to one side. Heavy setups with longer lenses may try to tip the tripod.
Benefits of an L Bracket
- Quickly and easily switch between horizontal and vertical orientations whilst maintaining the same composition.
- Maintain centre of gravity and places weight equally over all tripod legs.
- Allows camera to rotate centrally when shooting panoramas, meaning less issues with alignment during stitching.
- The L bracket will offer an element of protection to the camera from bumps, knocks and scratches.
Universal vs Tailored Fit
There are two types of L bracket “Universal Fit” and “Tailored Fit”. Universal brackets are often cheaper but there are trade off’s. A universal bracket may block camera accessory ports. Likewise they may also cover the battery door meaning you have to remove the L bracket to swap out the battery. Tailored fit L brackets are exactly that. They are designed for a particular model of camera and offer the best fit and functionality. I originally used a universal L bracket on my Nikon Z6 but soon found it was not possible to remove the FTZ adaptor without taking off the L bracket. This was a big inconvenience and I soon realised I needed to upgrade to a tailored fit Zelda L bracket which solved my problem.
Lens Cleaning Kit
A good lens cleaning kit is an essential piece of gear and easily makes it into my best 5 accessories for landscape photography.
Micro Fibre Cloths
The main item in my lens cleaning kit is a selection of micro fibre cloths. They are probably one of the cheapest but most useful accessories you will ever buy. As landscape photographers we will often find ourselves outside in all weathers. Snow, Rain, Mist and fog are amongst the worst conditions for water drops on our cameras and lenses. Shooting near the sea or by waterfalls also presents its problems. A quick wipe with a micro fibre cloth is all it takes to remove the offending droplet ensuring a spot free image or soaking wet camera. Its best to carry multiple cloths and once they become wet, dirty or damaged switch the cloth out for a clean one.
Lens Pens
My lens cleaning kit also includes a lens pen. A lens pen is a tool in the shape of a pen which is designed to remove fingerprints, dust, grease and perfect for cleaning camera lenses.
Rocket Blower
Whilst not part of my official best 5 accessories for landscape photography it is worth buying one. A short sharp blast of air from a rocket blower is often all that’s needed to move an offending dust particle.
Conclusion
Hopefully you have found my list of best 5 accessories for landscape photography interesting. Of course there are hundreds of accessories I could have chosen however I feel these are the accessories I find most useful. Let me know in the comments below if you think I have missed a key accessory. Whats included in your landscape photography kit?
Having a good selection of kit in your bag will certainly help to capture those amazing landscape images however remember its the person behind the camera that makes the shot!
Let’s Connect
Sign Up For My Newsletter
Be the first to hear about my latest adventures, new blog posts and photography projects.
If you change your mind you can unsubscribe at any time.